

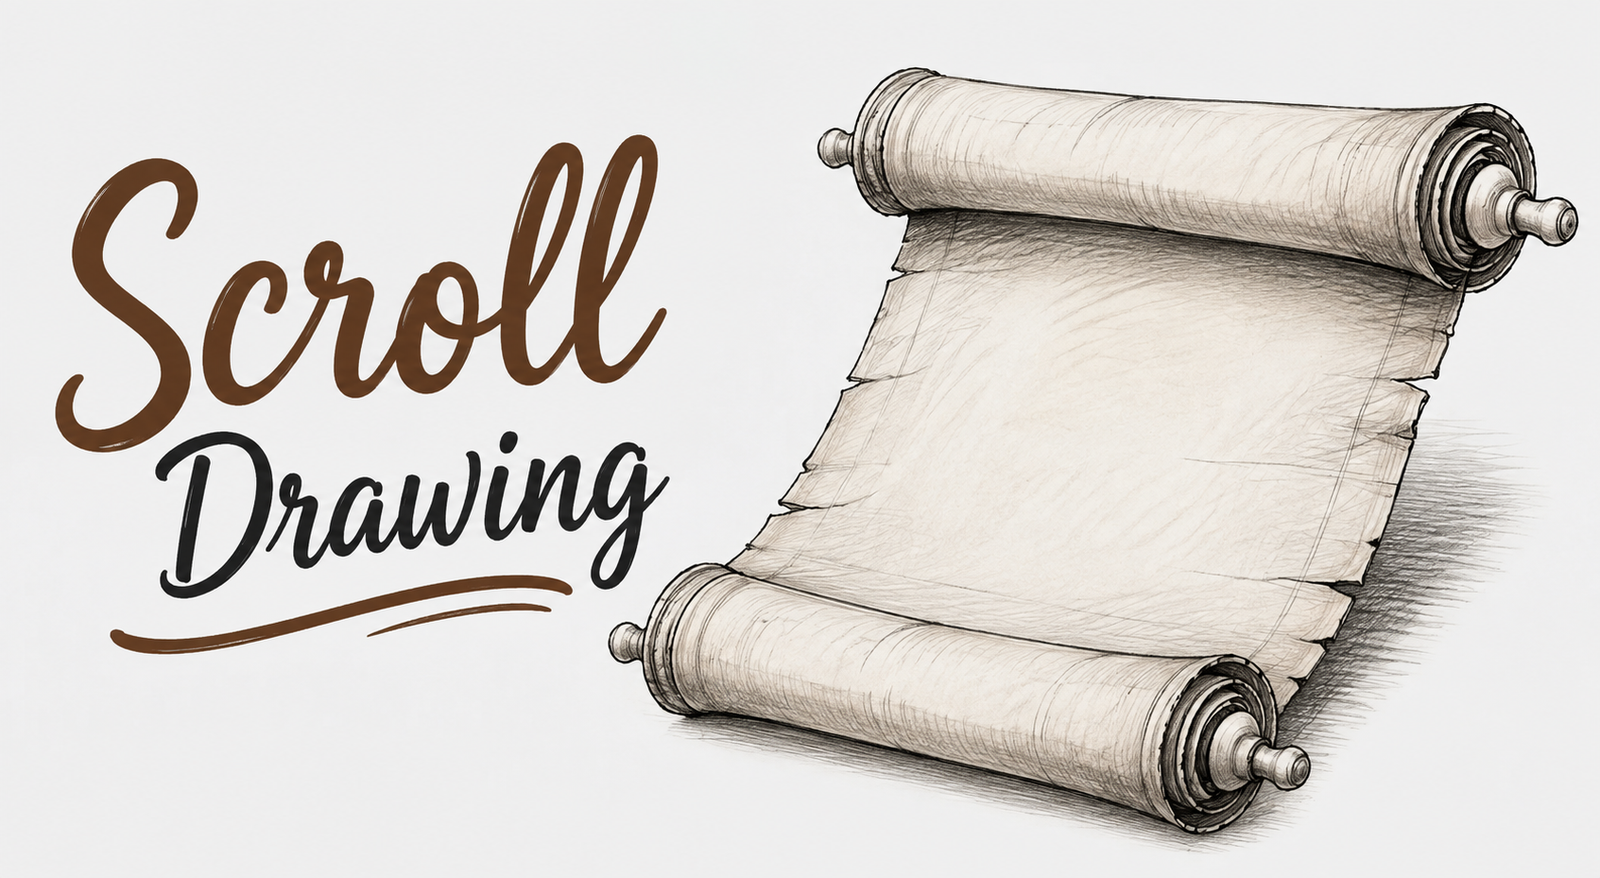
A scroll drawing is one of the most popular art subjects for beginners and experienced artists alike. Whether you want to create a vintage parchment, a fantasy treasure map, a decorative banner, or a certificate design, learning how to draw a realistic scroll is a valuable skill. The beauty of a scroll lies in its rolled edges, flowing curves, and aged paper texture, making it suitable for everything from school projects to professional illustrations.
Many people believe drawing a scroll is difficult, but with the right approach, anyone can create an attractive design. This guide breaks the process into simple, easy-to-follow steps while sharing practical tips that improve your drawing skills. Whether you’re working on a Scroll drawing easy project, a Scroll drawing design, a Scroll drawing rolled up illustration, or a Scroll drawing horizontal banner, you’ll find techniques that help you achieve professional-looking results.
By the end of this guide, you’ll understand the structure of a scroll, how to add depth and shading, and how to create a realistic Pencil scroll drawing that looks impressive.
What Is a Scroll Drawing?
A scroll drawing is an illustration of a rolled sheet of paper or parchment. Historically, scrolls were used to record important documents, religious texts, maps, and royal decrees before books became common. Today, artists use scroll drawings in invitations, logos, fantasy artwork, tattoo concepts, certificates, greeting cards, and decorative designs.
Unlike ordinary rectangles of paper, scrolls have curled edges that create depth and dimension. These rolled ends make the artwork appear three-dimensional and realistic. A Scroll drawing with writing is especially popular because it combines artistic presentation with meaningful text, quotes, or messages.
Modern artists also experiment with different styles, including medieval scrolls, pirate treasure maps, fantasy spell scrolls, and elegant decorative banners.
Materials You Need Before You Start
You don’t need expensive supplies to create an attractive scroll drawing. Simple drawing tools are enough for beginners.
Traditional Drawing Supplies
- HB pencil for sketching
- 2B or 4B pencil for shading
- Good-quality eraser
- Drawing paper or sketchbook
- Ruler for guidelines
- Blending stump or tissue for smooth shadows
- Fine black pen (optional)
Digital Drawing Tools
If you prefer digital illustration, you can use:
- Procreate
- Adobe Photoshop
- Adobe Illustrator
- Clip Studio Paint
- Krita
Digital tools allow unlimited corrections, while traditional pencil drawing helps build strong artistic fundamentals.
| Traditional Drawing | Digital Drawing |
| Pencil | Stylus |
| Sketchbook | Drawing Tablet |
| Eraser | Undo Button |
| Blending Stump | Soft Brush |
| Manual Coloring | Digital Brushes |
Understanding the Parts of a Scroll
Before drawing, it’s helpful to understand the anatomy of a scroll.
Rolled Ends
The rolled ends are the most recognizable feature. They create the illusion that the paper has been rolled inward.
Main Body
The center section is the flat area where text, illustrations, or decorations can be added.
Fold Lines
Curved fold lines connect the rolled sections to the main body and help create realistic depth.
Shadows
Shadows make the scroll appear three-dimensional. Without proper shading, the drawing may look flat.
Understanding these elements makes it much easier to create a realistic scroll from any angle.
Step-by-Step Scroll Drawing Tutorial
This beginner-friendly method works whether you’re creating a decorative banner, fantasy illustration, or classic parchment.
Step 1: Draw the Main Shape
Start by drawing a long horizontal rectangle with slightly curved top and bottom edges. Avoid making the lines perfectly straight because real parchment naturally bends over time.
If you’re creating a Scroll drawing horizontal, make the rectangle wider than it is tall to leave plenty of space for decorative text or artwork.
Step 2: Sketch the Rolled Ends
At both ends of the rectangle, draw circular curls that represent rolled paper. Think of each roll as a small cylinder viewed from the side.
Keep both sides roughly the same size to maintain balance, but don’t worry about making them perfectly identical. Small differences often make hand-drawn artwork look more natural.
Step 3: Connect the Rolls
Use gentle curved lines to connect the rolled ends to the center section.
This step creates the flowing appearance that makes scrolls look elegant rather than stiff.
Remember that real paper bends smoothly, so avoid sharp corners.
Step 4: Add Inner Curves
Inside each rolled end, draw additional curved lines following the spiral.
These inner lines create the illusion of multiple layers of rolled parchment.
Adding only one or two extra curves is usually enough for beginners.
Step 5: Refine the Outline
Erase unnecessary construction lines and redraw the outer edges using cleaner, smoother strokes.
At this stage, your scroll should have a clear shape with balanced proportions.
Take your time because clean outlines greatly improve the final result.
Step 6: Add Fold Lines
Draw subtle curved fold lines where the rolled sections meet the flat paper.
These folds help explain how the parchment bends naturally.
Avoid drawing too many folds because excessive lines can make the scroll look cluttered.
Step 7: Shade the Scroll
Shading transforms a simple sketch into realistic artwork.
Darken the inside of each rolled end because less light reaches these areas.
Add soft shadows beneath the curled paper to create depth.
Gradually blend the pencil marks using a blending stump or tissue.
A good Pencil scroll drawing depends more on smooth shading than heavy outlines.
Step 8: Create an Old Paper Texture
Real parchment isn’t perfectly smooth.
Use light, uneven pencil strokes to create a subtle paper texture.
You can also add tiny wrinkles, worn corners, or faded edges for a vintage appearance.
This technique works especially well for fantasy illustrations and treasure maps.
Step 9: Add Decorative Details
Now personalize your scroll.
Popular decorative ideas include:
- Floral borders
- Celtic patterns
- Small ribbons
- Wax seals
- Feathers
- Rope decorations
- Medieval ornaments
If you’re creating a Scroll drawing design, decorative elements help make the artwork unique.
Step 10: Add Text or Quotes
The center of the scroll is perfect for writing.
A Scroll drawing with writing can feature:
- Inspirational quotes
- Wedding invitations
- Certificates
- Birthday messages
- Fantasy spells
- Family mottos
- Treasure map clues
Choose elegant lettering styles that complement the vintage appearance of the scroll.
Beginner Tips for Better Scroll Drawings
One of the biggest mistakes beginners make is pressing too hard with the pencil during the first sketch. Always draw lightly so corrections are easy.
Practice drawing cylinders before attempting rolled parchment. Since the ends of a scroll are essentially rolled cylinders, understanding their shape makes the entire drawing process much easier.
Use curved lines instead of perfectly straight ones. Scrolls naturally have flowing shapes, and gentle curves create a more realistic look.
Focus on light direction before adding shadows. Decide where the light is coming from and keep your shading consistent throughout the drawing.
Finally, be patient. Even professional artists refine their sketches several times before reaching the finished result. With regular practice, your scroll drawings will become cleaner, more detailed, and more realistic.
Scroll Drawing Styles You Should Try
Once you’ve mastered the basics, experiment with different styles. Each style has its own charm and works well for different creative projects.
Classic Parchment Scroll
This traditional style features lightly curled edges, soft shading, and an aged paper texture. It’s perfect for certificates, announcements, and historical artwork.
Medieval Scroll
A medieval scroll often includes ornate borders, decorative initials, and darker shading. It’s commonly used in fantasy illustrations, historical designs, and role-playing game artwork.
Fantasy Scroll
Fantasy scrolls add magical elements such as glowing symbols, runes, gemstones, dragon motifs, or enchanted seals. These designs are popular in game art and book illustrations.
Vintage Scroll
Vintage scrolls feature torn edges, faded colors, stains, and weathered textures that make them appear centuries old.
Cartoon Scroll
A cartoon scroll uses bold outlines, oversized rolled edges, and bright colors, making it ideal for children’s books, classroom projects, and playful illustrations.
Pencil vs. Digital Scroll Drawing
Both traditional and digital methods produce excellent results. The right choice depends on your goals and preferred workflow.
| Feature | Pencil Scroll Drawing | Digital Scroll Drawing |
| Beginner Friendly | Excellent | Good |
| Cost | Low | Higher (tablet/software) |
| Editing | Difficult | Very Easy |
| Coloring | Manual | Fast & Flexible |
| Texture | Natural | Brush-Based |
| Learning Fundamentals | Excellent | Good |
| Best For | Sketching & Practice | Professional Designs |
If you’re just starting, a Pencil scroll drawing is the best way to learn proportions, shading, and line control before moving to digital tools.
How to Shade a Scroll Realistically
Shading is what transforms a flat outline into a convincing three-dimensional drawing.
Start by deciding where the light source is coming from. If the light comes from the upper left, the lower right areas should be darker.
Apply darker tones inside the rolled ends because these areas receive less light. Then add soft shadows beneath each curl to create depth.
Blend your pencil strokes gently using a blending stump or tissue. Avoid pressing too hard with the pencil, as gradual layers create smoother, more natural shadows.
For an antique effect, darken the outer edges slightly while leaving the center lighter. This mimics the appearance of aged parchment.
How to Color Your Scroll
Although many artists leave their scrolls as pencil sketches, adding color can make them even more appealing.
Popular coloring options include:
- Colored pencils for soft, realistic effects
- Alcohol markers for vibrant illustrations
- Watercolors for antique parchment looks
- Digital brushes for flexible editing
Use warm shades such as beige, tan, light brown, or cream to create an authentic parchment appearance. Slightly darker edges help the scroll look older and more realistic.
Creative Scroll Drawing Ideas
After learning the basics, challenge yourself with unique projects.
Try drawing:
- A pirate treasure map
- A fantasy spell scroll
- A royal proclamation
- A wedding invitation
- A birthday certificate
- An ancient manuscript
- A classroom reward certificate
- A medieval banner
- A family crest
- A decorative wall art piece
These ideas help improve your creativity while giving you practical drawing experience.
Common Scroll Drawing Mistakes
Beginners often repeat the same mistakes. Knowing them in advance can save time and improve your artwork.
| Mistake | How to Fix It |
| Uneven rolled ends | Sketch light guide circles first |
| Flat-looking scroll | Add deeper shadows under curls |
| Very thick outlines | Use varied line weight |
| Straight, stiff edges | Draw gentle flowing curves |
| Too many fold lines | Keep folds simple and natural |
| Dark shading everywhere | Build shadows gradually |
Correcting these issues will instantly make your scroll drawings appear cleaner and more professional.
Practice Exercises
Improvement comes through repetition. Try these exercises to build confidence.
Exercise 1: Draw only the rolled ends from different angles.
Exercise 2: Practice shading cylinders to understand curved surfaces.
Exercise 3: Create five scrolls in different sizes.
Exercise 4: Design decorative borders using flowers, vines, or Celtic patterns.
Exercise 5: Draw a Scroll drawing rolled up to practice perspective and depth.
Even spending 15–20 minutes a day practicing can lead to noticeable improvements within a few weeks.
Where Scroll Drawings Are Used
Scroll drawings remain popular because they’re versatile and timeless.
Common uses include:
- School art assignments
- Wedding invitations
- Certificates and awards
- Greeting cards
- Tattoo concepts
- Fantasy illustrations
- Book covers
- Logo concepts
- Wall decorations
- Social media graphics
A well-designed Scroll drawing horizontal layout is especially useful for banners, certificates, and decorative headings, while a Scroll drawing with writing works beautifully for inspirational quotes and announcements.
Expert Tips for Better Results
Professional artists often follow a few simple habits that dramatically improve their work:
- Sketch lightly before adding dark lines.
- Study real parchment references for realistic folds.
- Keep the rolled ends symmetrical but not identical.
- Build shadows in multiple layers instead of using heavy strokes.
- Leave small highlights to create a realistic paper texture.
- Practice consistently rather than rushing through a single drawing.
These habits help develop stronger observation skills and produce cleaner, more polished artwork.
Conclusion
Learning scroll drawing is an enjoyable way to improve your artistic skills while creating beautiful illustrations for a wide range of projects. By understanding the structure of a scroll, practicing smooth curves, adding realistic shading, and experimenting with different styles, you can create artwork that looks both elegant and professional.
Whether you’re working on a Scroll drawing easy tutorial, designing a decorative Scroll drawing design, creating a Scroll drawing rolled up illustration, sketching a Scroll drawing horizontal banner, or making a Scroll drawing with writing, patience and consistent practice are the keys to success. Start with simple shapes, refine your technique over time, and don’t be afraid to experiment with your own creative ideas.
Frequently Asked Questions
Is scroll drawing easy for beginners?
Yes. With simple shapes, light sketching, and gradual shading, beginners can create attractive scroll drawings after a little practice.
What pencil is best for scroll drawing?
An HB pencil is ideal for sketching, while 2B or 4B pencils are excellent for shading and adding depth.
How do I make a scroll look old?
Use warm beige or brown colors, darken the edges slightly, add light wrinkles, and include subtle stains or texture for an aged parchment effect.
Can I create a scroll drawing digitally?
Absolutely. Programs like Procreate, Adobe Photoshop, Clip Studio Paint, and Illustrator allow you to create professional-quality scroll illustrations using digital brushes.
What is the difference between a scroll and scrollwork?
A scroll is a rolled sheet of parchment or paper, while scrollwork refers to decorative swirling patterns often used in engraving, woodworking, and ornamental design.
How long does it take to learn scroll drawing?
Most beginners can understand the fundamentals in a few hours. With regular practice over several weeks, you’ll gain confidence and produce more realistic, detailed scrolls.
You May Also Read: Buttons