


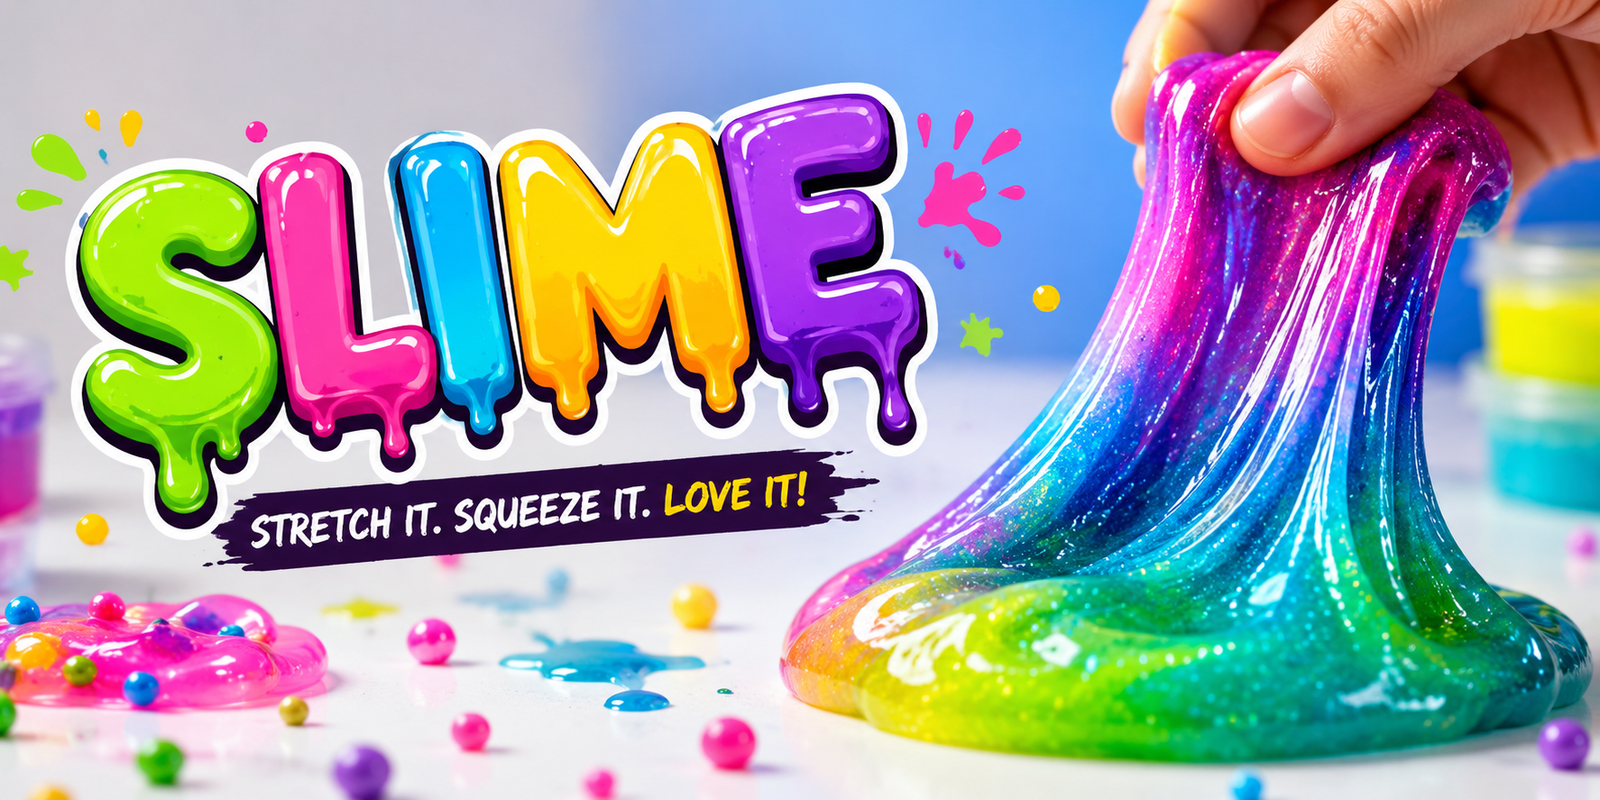
Slime has become one of the most popular DIY crafts for children, teenagers, and even adults. It is fun to make, satisfying to play with, and a great way to explore basic science concepts through hands-on learning. Whether you enjoy stretchy slime, fluffy slime, crunchy slime, or glitter slime, there’s a recipe for everyone.
The best part about making slime is that you don’t need expensive materials. Most recipes use common household ingredients that are easy to find in supermarkets or craft stores. With a little creativity, you can customize your slime with colors, scents, glitter, foam beads, or tiny charms to make it completely unique.
This guide covers everything from the ingredients you’ll need to step-by-step instructions, troubleshooting tips, and safety advice. By the end, you’ll know exactly how to create smooth, stretchy slime that feels just right every time.
Ingredients You’ll Need
Before you begin, gather all of your supplies in one place. Having everything ready makes the slime-making process easier and more enjoyable. The most common ingredients include white school glue, baking soda, contact lens solution that contains boric acid, and food coloring.
White glue acts as the base of the slime and gives it its stretchy texture. Baking soda helps strengthen the mixture, while the contact solution activates the glue and transforms it into slime. Food coloring is optional, but it allows you to create bright and colorful designs.
You can also add fun extras such as glitter, foam beads, sequins, scented oils, or glow-in-the-dark powder. These decorations don’t change the basic recipe but make the finished slime much more exciting and personalized.
Step-by-Step Slime Making Guide
Start by pouring one cup of white school glue into a large mixing bowl. Stir the glue gently to remove any lumps and create a smooth base before adding the remaining ingredients.
Next, mix in one teaspoon of baking soda. Stir thoroughly until the baking soda is completely dissolved into the glue. If you want colored slime, add a few drops of food coloring now and mix until the color is evenly distributed.
Slowly add one tablespoon of contact lens solution while continuously stirring. You’ll notice the mixture starting to pull away from the sides of the bowl. Continue mixing until it forms a soft ball, then knead it with clean hands for several minutes. If it feels too sticky, add a few extra drops of contact solution until it reaches the perfect consistency.
How the Science Behind Slime Works
Making slime isn’t just entertaining—it also teaches a simple science lesson. Glue contains long chains of molecules called polymers. On their own, these polymers slide past one another, which is why glue is runny.
When you add the activator, the molecules begin connecting with one another. This process forms a flexible network that traps water inside, changing the liquid glue into a stretchy, rubber-like substance.
Understanding this simple chemical reaction helps explain why adding too much activator creates stiff slime, while adding too little leaves it sticky. Finding the right balance is the key to making perfect slime every time.
Different Types of Slime
Classic slime is the easiest version and is perfect for beginners. It has a smooth, stretchy texture that most people enjoy and serves as the foundation for many other slime recipes.
Fluffy slime is made by adding shaving cream to the mixture. The extra air creates a soft, puffy texture that’s lightweight and incredibly satisfying to squeeze. It’s especially popular among younger children.
Butter slime includes soft modeling clay, giving it a smooth, spreadable consistency. Crunchy slime contains foam beads or plastic pellets for extra texture, while clear slime uses transparent glue to create a glass-like appearance. Glitter slime, cloud slime, and magnetic slime are also fun variations worth trying.
Common Slime Problems and How to Fix Them
Sticky slime is one of the most common issues beginners face. Fortunately, it’s usually easy to fix. Add a few drops of activator and knead the slime thoroughly before deciding whether it needs more.
If your slime becomes too stiff or rubbery, you’ve probably added too much activator. Mixing in a little extra glue can soften it again and restore its stretchiness.
Sometimes slime becomes dry after sitting out for a while. Kneading in a small amount of warm water or lotion can help bring back its softness. Proper storage also plays a huge role in maintaining good texture.
Fun Ways to Customize Your Slime
One of the best things about homemade slime is how easy it is to personalize. Food coloring allows you to create almost any shade imaginable. You can even mix multiple colors for rainbow or marble effects.
Glitter instantly gives slime a sparkling appearance. Fine glitter creates a smooth shimmer, while chunky glitter adds bold, eye-catching effects. Metallic pigments and glow powders can make your slime even more impressive.
For scented slime, add a few drops of child-safe fragrance oil or essential oil, if appropriate. Popular scents include vanilla, strawberry, watermelon, cotton candy, and bubblegum. Combining colors, scents, and textures creates endless creative possibilities.
Safety Tips for Making Slime
Always wash your hands before and after making slime. Clean hands help keep the slime fresh while also preventing unwanted dirt and bacteria from getting into the mixture.
Young children should always have adult supervision during slime-making activities. Although the ingredients are commonly available, they are not meant to be eaten. Keep slime away from pets and very young children who may accidentally swallow it.
If you have sensitive skin, wearing disposable gloves is a good idea. Some people may experience mild irritation from certain ingredients, so discontinue use if discomfort occurs.
How to Store Slime Properly
Proper storage keeps slime soft and stretchy for much longer. Place your finished slime inside an airtight plastic container or a resealable storage bag immediately after use.
Avoid leaving slime exposed to air for extended periods because it will gradually dry out and become stiff. Keeping it sealed helps preserve moisture and maintain its original texture.
Store slime in a cool, dry location away from direct sunlight and excessive heat. Under good storage conditions, homemade slime can often last several weeks before needing replacement.
Benefits of Making Slime
Slime isn’t just a fun toy—it also offers several educational and developmental benefits. Mixing ingredients encourages curiosity and introduces children to basic chemistry concepts through practical experimentation.
Playing with slime helps strengthen fine motor skills by encouraging squeezing, stretching, folding, and rolling movements. These repetitive hand motions can improve finger strength and coordination over time.
Many people also find slime relaxing. Stretching and kneading it can provide a calming sensory experience that helps reduce boredom and encourages creative thinking during playtime.
Creative Slime Activity Ideas
Once you’ve mastered basic slime, try creating themed collections for different seasons and holidays. Halloween slime with orange coloring and black glitter, winter snow slime, or colorful Easter slime are all fun projects.
Challenge yourself by creating layered slime with multiple colors stacked together inside a clear container. When stretched, the colors blend into beautiful patterns that look amazing.
You can also organize slime-making parties with family and friends. Everyone can experiment with different textures, colors, and decorations while sharing ideas and learning new techniques together.
Conclusion
Making slime is a simple, affordable, and entertaining activity that combines creativity with hands-on science. With just a few basic ingredients, you can create stretchy, colorful slime that’s customized to match your favorite colors, textures, and themes.
The key to great slime is following the recipe carefully, adding the activator slowly, and kneading the mixture until it reaches the perfect consistency. Even if your first attempt isn’t perfect, small adjustments can quickly improve the results.
Whether you’re making slime for fun, learning, or stress relief, the possibilities are nearly endless. Experiment with new recipes, try different decorations, and most importantly, enjoy the creative process. With practice and imagination, you’ll soon be making amazing homemade slime that everyone will love.
You May Also Read: tyre sampson